
Step-by-Step: How to Claim Your Rooftop Solar Subsidy in Maharashtra
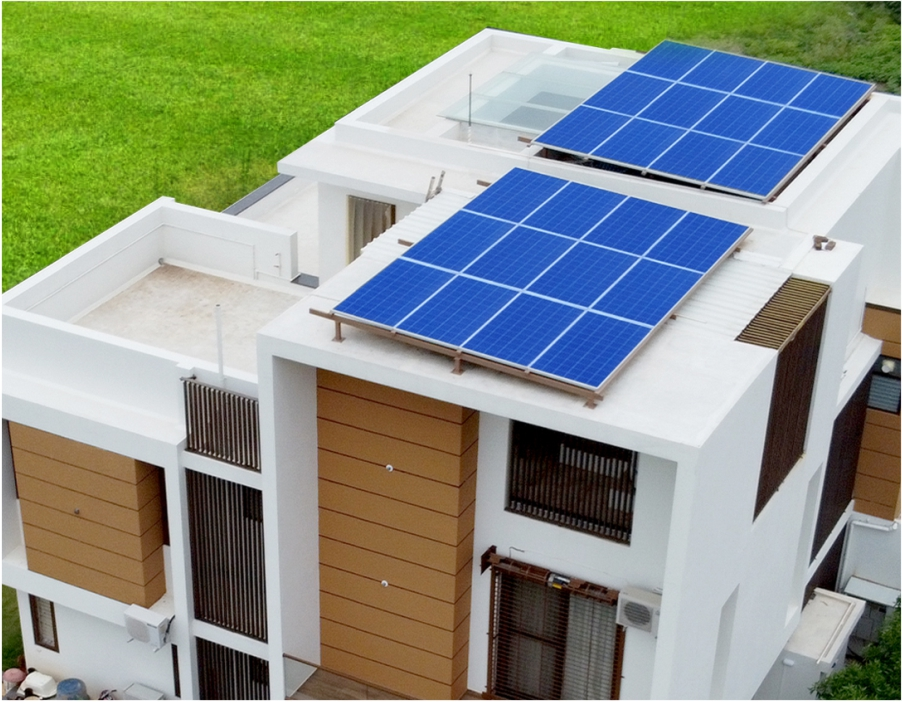
Claim Rooftop Solar Subsidy in Maharashtra: Step-by-Step
Deciding to go solar is the easy part. Actually claiming your rooftop solar subsidy in Maharashtra – with all its documentation, approvals, and waiting periods – is where most homeowners feel a bit lost. Not because the process is genuinely complicated, but because nobody walks them through it in plain, sequential steps.
That’s exactly what this blog does. No jargon, no vague summaries – just the actual sequence of steps you need to follow, from choosing an installer to receiving your subsidy in your bank account, along with what to double-check at each stage to avoid unnecessary delays.
Quick Answer: What Are the Steps to Claim Rooftop Solar Subsidy?
The complete process for claiming government solar subsidy in Maharashtra typically follows this sequence:
- Choose an empanelled installer
- Get a site assessment and system sizing recommendation
- Register your application on the national rooftop solar portal
- Complete installation
- Request and complete inspection
- Apply for and receive net metering approval
- Receive subsidy disbursement to your bank account
Quick Tip: Each of these steps depends on the previous one being completed correctly – skipping documentation or rushing through any stage often causes delays further down the line.
Step 1: Choose an Empanelled Installer
This is the foundation of your entire subsidy claim, and getting it wrong here derails everything that follows.
Why this matters:
- Only installers registered under proper solar panel licensing with current empanelment status can install subsidy-eligible systems.
- A non-empanelled installer, regardless of installation quality, makes your subsidy application ineligible from the start.
What to do:
- Ask your shortlisted installer directly for proof of current empanelment.
- Cross-verify through the relevant state nodal agency or national rooftop solar portal.
Did You Know? Empanelment status isn’t permanent – it can change over time. Always confirm current status rather than relying on past reputation or word-of-mouth alone.
Want your installer’s empanelment verified before you commit? Ask S’unlimited Solar for a quick check.
Step 2: Get a Proper Site Assessment
Before any paperwork begins, your installer should assess your specific property.
What a proper assessment includes:
- Roof structural capacity and available space
- Shading analysis to identify obstructions
- Recommended system size based on your electricity consumption
- An itemized quote showing pre-subsidy and post-subsidy pricing
Quick Tip: If an installer skips this step and jumps straight to a generic quote based only on your requested system size, that’s a sign to slow down and ask more questions.
Ask yourself: What’s your average monthly electricity bill over the past year? This single number is one of the most useful starting points for determining the right system size for maximum subsidy benefit and consumption offset.
Step 3: Register Your Application on the National Portal
Once you’ve finalized your installer and system size, the formal application process begins.
What typically happens:
- Your installer helps register your application with property, consumer, and system details
- You’ll need documents like your electricity bill, ID proof, and ownership or consent documentation
- The application links your specific installation to the subsidy scheme for processing
Did You Know? Documentation mismatches – like a name spelled differently on your electricity bill versus your ID – are one of the most common, avoidable causes of application delays. Double-checking this before submission saves real time later.
Step 4: Complete Installation
With your application registered, physical installation can proceed.
What to expect:
- Installation timelines vary, but a typical residential system is usually completed within a few days once scheduled
- Your installer should provide a realistic timeline and communicate any delays proactively
- Ensure all safety and quality standards (BIS-approved equipment, proper wiring, earthing) are followed during this stage
Quick Tip: Ask for photos or documentation of the completed installation, including panel serial numbers and inverter details – this becomes useful reference material for warranty and subsidy verification purposes.
Step 5: Request and Complete Inspection
After installation, a technical inspection verifies your system meets required safety and quality standards.
What gets checked:
- Wiring, earthing, and safety compliance
- Panel and inverter installation quality
- Overall system readiness for grid connection
What to do:
- Confirm with your installer who is responsible for scheduling this inspection
- Ask for an estimated timeline based on their past project experience
Step 6: Apply for Net Metering
This is often the step that takes the longest, and it’s mandatory before subsidy can be disbursed.
What it involves:
- Formal application to your DISCOM to connect your solar system to the grid
- Installation of a net meter that tracks both power drawn from and exported to the grid
- Approval from the DISCOM confirming your system is properly connected
| Net Metering Stage | What Happens |
| Application submitted | Installer files request with DISCOM |
| Site verification | DISCOM may conduct a physical check |
| Meter installation | Net meter replaces or supplements existing meter |
| Final approval | Grid connection officially confirmed |
Quick Tip: Ask your installer for a written estimate of net metering timeline based on your specific area, since processing times can vary between different DISCOM zones within Maharashtra.
Step 7: Receive Subsidy Disbursement
Once installation, inspection, and net metering approval are all verified, the final step is subsidy disbursement.
What to expect:
- Subsidy amount is calculated based on the government benchmark cost for your system size
- Funds are transferred directly to your registered bank account
- This typically happens within a few weeks after all previous steps are confirmed complete
Did You Know? Many homeowners assume subsidy arrives immediately after installation, but it’s actually the very last step in the process – coming only after inspection and net metering are both fully approved.
Real-World Example: A Typical Application Timeline
A homeowner in Maharashtra with a 3kW system decides to go solar. After choosing an empanelled installer and completing a site assessment, their application is registered, and installation is completed within a few days. Inspection follows within the next couple of weeks, and net metering approval – the longest step – takes a few additional weeks depending on DISCOM processing.
Once all steps are verified, subsidy disbursement is completed, and the homeowner starts seeing meaningfully reduced electricity bills from that point forward.
Quick Tip: While exact timelines vary, having accurate documentation and a properly empanelled installer from the start is the single biggest factor in keeping the overall process moving smoothly.
Common Mistakes That Delay Subsidy Claims
- Choosing a non-empanelled installer, resulting in outright application rejection.
- Documentation mismatches between electricity bill, ID proof, and application details.
- Skipping or delaying net metering registration, holding up the final disbursement step.
- Assuming subsidy is disbursed right after installation, rather than after inspection and net metering approval.
- Not following up proactively when an application stalls at a particular stage.
- Installing a system size that doesn’t align with your sanctioned electrical load, triggering additional review.
Checklist: Before You Start the Subsidy Claim Process
- Empanelled installer confirmed and verified
- Site assessment completed with proper shading and structural evaluation
- Itemized quote showing pre-subsidy and post-subsidy pricing
- All documentation (ID, electricity bill, ownership proof) cross-checked for consistency
- Clear understanding of who handles net metering application
- Realistic timeline expectations set for each stage of the process
ROI Insight: Why Getting the Process Right the First Time Matters
Every delay in this seven-step process is essentially a delay in when your actual savings begin. A smoothly completed application, with accurate documentation and a properly empanelled installer, can mean the difference between seeing reduced bills within a couple of months versus facing avoidable delays that push savings back by weeks or even months.
Quick Tip: Think of careful documentation and installer verification not as bureaucratic hurdles, but as the fastest path to actually start saving on your electricity bill.
When Should You Contact a Solar Expert?
Reach out to a solar consultant if:
- You’re unsure whether your shortlisted installer is currently empanelled.
- Your application has stalled at a particular stage and you’re not sure why.
- You want your documentation reviewed before submission to catch potential mismatches.
- You’re a business or industrial property owner navigating a more complex application process.
- You simply want a clear, step-by-step walkthrough tailored to your specific property before starting.
A short conversation upfront can help you avoid the most common, avoidable delays in this process.
FAQs
1. What are the main steps to claim rooftop solar subsidy in Maharashtra? The process generally involves choosing an empanelled installer, completing a site assessment, registering your application, finishing installation, completing inspection, applying for net metering, and finally receiving subsidy disbursement.
2. How long does it take to receive subsidy after installation? Once installation, inspection, and net metering approval are all complete, subsidy is typically disbursed within a few weeks, though this can vary based on documentation accuracy and DISCOM processing time.
3. Can I claim subsidy if I use a non-empanelled installer? No. Only systems installed by empanelled installers registered under proper solar panel licensing norms are eligible for subsidy, regardless of installation quality.
4. What documents are needed to apply for rooftop solar subsidy? Typically, you’ll need your electricity bill, ID proof, ownership or consent documentation, and technical details provided by your installer during the application registration process.
5. Does net metering happen before or after subsidy is disbursed? Net metering approval must be completed before subsidy disbursement, as it’s one of the required verification steps in the overall process.
6. What’s the most common reason subsidy claims get delayed? Documentation mismatches – like inconsistent names or addresses across your electricity bill, ID proof, and application – are among the most common, avoidable causes of delay.
7. Can businesses claim rooftop solar subsidy the same way homeowners do? Direct subsidy under this scheme primarily targets residential customers. Businesses typically pursue different financial benefits, like accelerated depreciation, rather than this specific subsidy claim process.
8. How can I track the status of my subsidy application? Most applications can be tracked through the national rooftop solar portal using your registered mobile number and application ID, showing progress through installation, inspection, and net metering stages.
Conclusion
Claiming your rooftop solar subsidy in Maharashtra isn’t complicated once you understand the actual sequence of steps – from choosing an empanelled installer to completing net metering and finally receiving disbursement. Most delays happen not because of the process itself, but because of avoidable documentation errors or working with the wrong installer from the start.
Following these seven steps carefully, and asking the right questions at each stage, is the most reliable way to get your subsidy claim approved smoothly and start enjoying reduced electricity bills sooner.
Ready to Start Your Rooftop Solar Subsidy Claim?
S’unlimited Solar guides you through every one of these seven steps – from empanelled installation to documentation, inspection, and net metering – so your subsidy claim moves forward without unnecessary delays.
Request your free consultation and site survey today →
Get a clear, step-by-step path to your subsidy – with zero obligation.

Pournima
A content writer at S'unlimited with expertise in solar energy education, producing guides and insights that simplify complex industry concepts for homeowners and businesses.